Today we are going to make the prettiest card for spring using the Garden Icons Cut and Emboss Folders. What's great about our cut and emboss folders is that the dies are embedded into the folders, and they are quick and easy embellishment makers. You will love using your paper scraps, patterned paper and even vellum to create spring icons like no other. We like to give the tip to cut a bunch of them at one time, so you have them to use as needed. If you don't have the Garden Icons Cut and Emboss Folders, then you can get them on sale on our website this week.
If you do have these lovely folders, get them out and let's make this card together!
The first time that we use the folders, we like to add a piece of wax paper between the folder and the paper. It makes for easy release of your beautiful diecuts.
Fussy cut one of the gardening gloves diecuts and layer it on top of the other with foam adhesive to make it 3D.
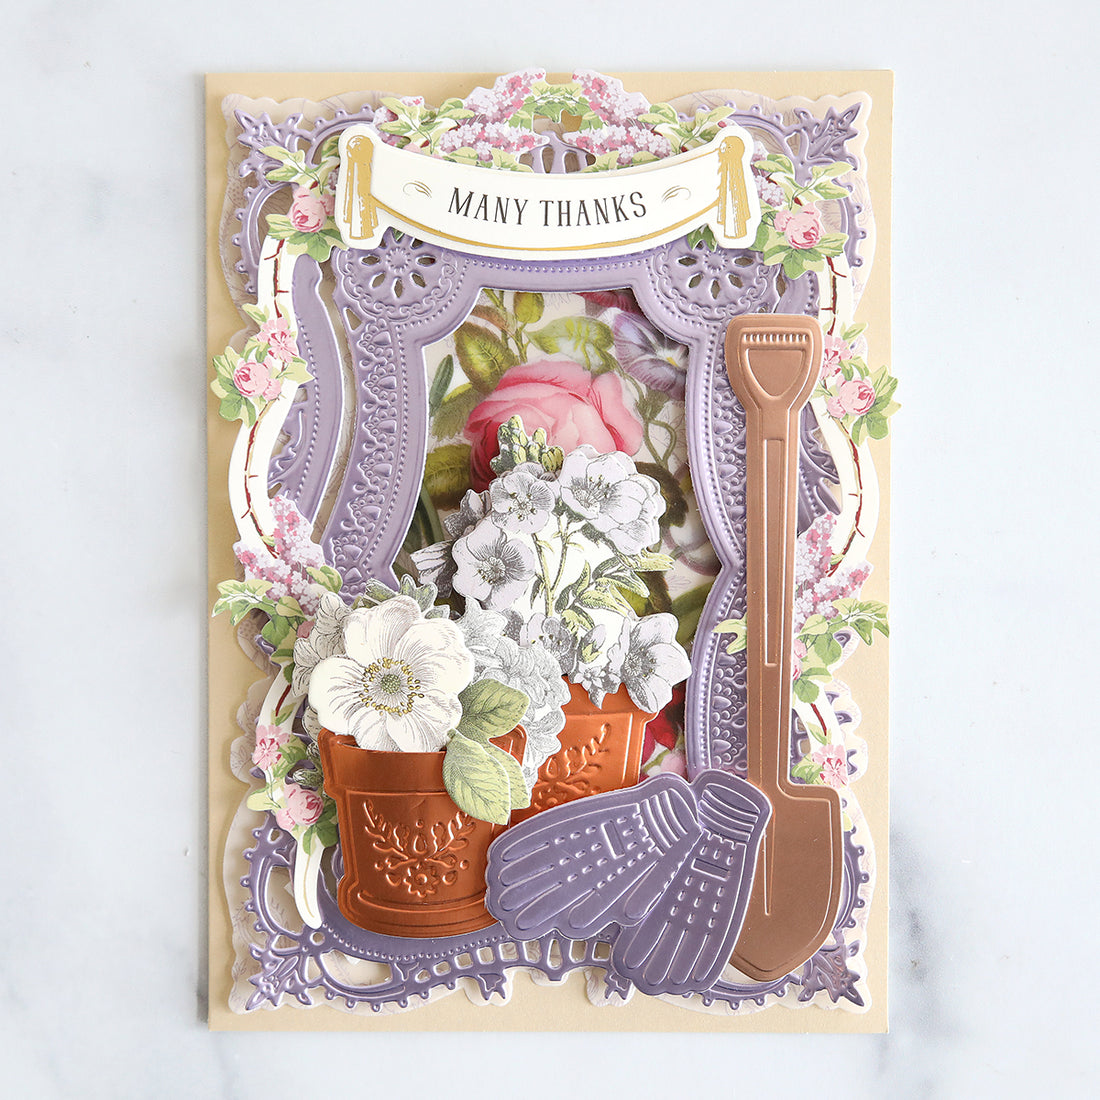
Place it between the pots and shovel to complete your card.
Anyone would be grateful to receive such a wonderful, spring card.
There are plenty of different looks that you can create with the Garden Icons Cut and Emboss Folders. The images included mix and match beautifully!
Create the most adorable garden shed with this set.
The garden icons look great on your shaped cards.
Use a sanding block to give added texture.
Play with different patterns and colors to create a cheerful card.
We know that the projects you make with this set will be spectacular! Be sure to share them with us on our social media channels. We love to see the incredible things that you make! You will be able to see today's tutorial for the next week, and then it will be archived with over 500 crafting videos on our Finishing School platform. Become a part of our community for an all access pass to everything Anna Griffin.
If you are an AG Member, join us today at 12pm EDT for our Members Only livestream. We have a fantastic hour planned for you!
Lovely card! I’ve seen these several times now to know I need to add this set to my wish list. 🙂
These gardening tools are exquisite and a must have for my gardening friends. Love, Love, Love them!
Super Cute!!! I did go out and garden today but not fun gardening, with all the rain we have been getting in SO CA my weeds are popping up. This looks like way more fun to me. I really like the garden (she) shed idea.
Choosing a selection results in a full page refresh.


15 comments
LOVE the tools. Those gloves!!!! 😊
Can’t wait to play with my tool dies.
Lovely card! I’ve seen these several times now to know I need to add this set to my wish list. 🙂
These gardening tools are exquisite and a must have for my gardening friends. Love, Love, Love them!
Super Cute!!! I did go out and garden today but not fun gardening, with all the rain we have been getting in SO CA my weeds are popping up. This looks like way more fun to me. I really like the garden (she) shed idea.