Hi crafters,
Let's get started!

Next, die cut the bunny shadow layer die using matching, double-sided patterned cardstock.

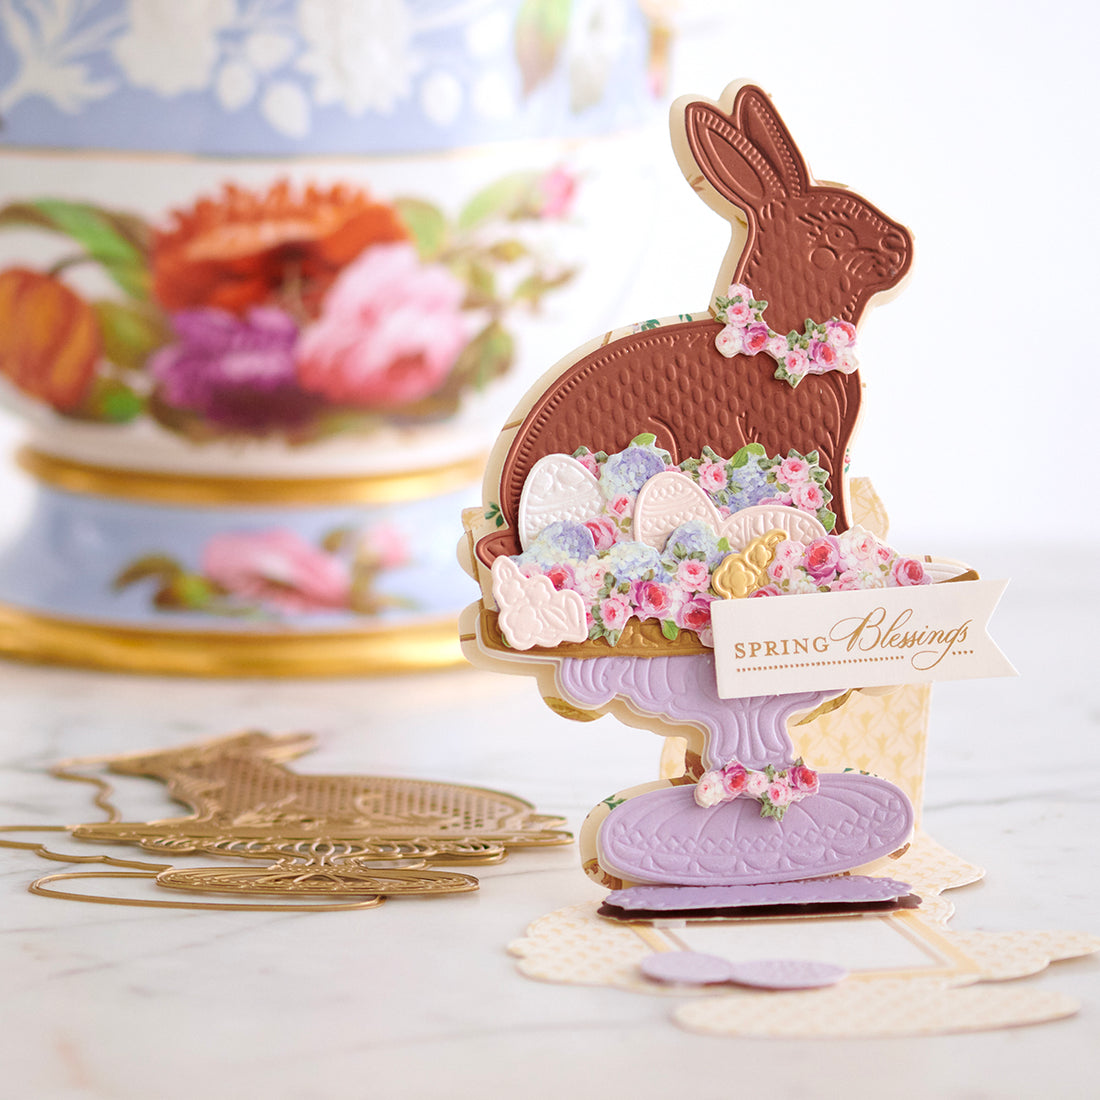
Create the bunny by die cutting the bunny layer using brown matte foil cardstock (ours is from the Dark Matte Foil Cardstock).

Die cut the bunny layer twice using metallic white cardstock from our Soft Hues Metallic Layers II.

To create more paper piecing magic, make die cuts of the embellishment dies. Our lavender cardstock is from Perfect Palette 6x8 Cardstock. Die cut the pedestal, platter, eggs and easel stand dies. Die Cut the decorative dies in lavender, white, pink and brown cardstock along with our gold foil matte cardstock to create additional, beautiful embellishments from our Foil Matte Cardstock Bundle Gold, Soft Hues Metallic Layers II, and Perfect Palette 6x8 Cardstock.

Fussy cut the bunny from the pedestal platter. You can use your favorite pair of scissors; we will be using the bunny portion.

Fussy cut one white metallic bunny from the pedestal platter. We will only be using the pedestal platter portion. Leave one of your bunnies intact.

Attach the purple and gold embellishment die cut to pieces to the white, fussy cut layer.

Double-sided adhesive will work great on the brown matte foil fussy cut bunny to adhere to the full, white metallic bunny.


Foam squares can be used to attach the white and brown bunny layer to the shadow layer on the easel.

Attach the embellishments directly to this layer to add depth.

Attach the pedestal platter layer creating a unique perspective and add floral embellishments (floral embellishments are from our Flower Cart Easel Finishing School Craft Box). For a finishing touch on the front of the card easel add the Spring Blessings sentiment.


26 comments
Love your Sping Bunny tutorial ..seeing it step by step is so helpful in making these awesome creations. Thank you..🐇🥚🌿
Beautiful cards! Thx for sharing the tutorial!
LOVE, LOVE, LOVE these!!!💖
Sent out 20 Easter cards yesterday. 16 were bunny easel die cards….love love love
Love this die🥰